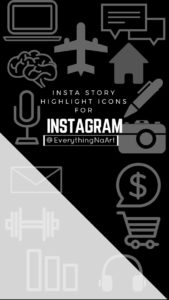
If you’ve gotten this far in this post and you’re still wondering what I am referring to, these are mine:

I chose to name them based on the topics I usually cover in my insta stories.
Why should we use them? Well, Instagram can serve as a quick “visual resume” if you are a content creator or creative in general. You want to make a nice first impression when folks/brands land on your page. They help to organize your page content and highlights them in a cohesive and balanced manner.
Finally, if I land on your page for the first time and you have a highlight that says “Hairstyles” and I am interested in all things hair, I can go straight there and look around at your other content later. Also, the highlights make it look like you have your $#&^ together (even when you don’t).
lets’s get to it! Canva allows you to create them for free!
step #1 – Create a Canva account
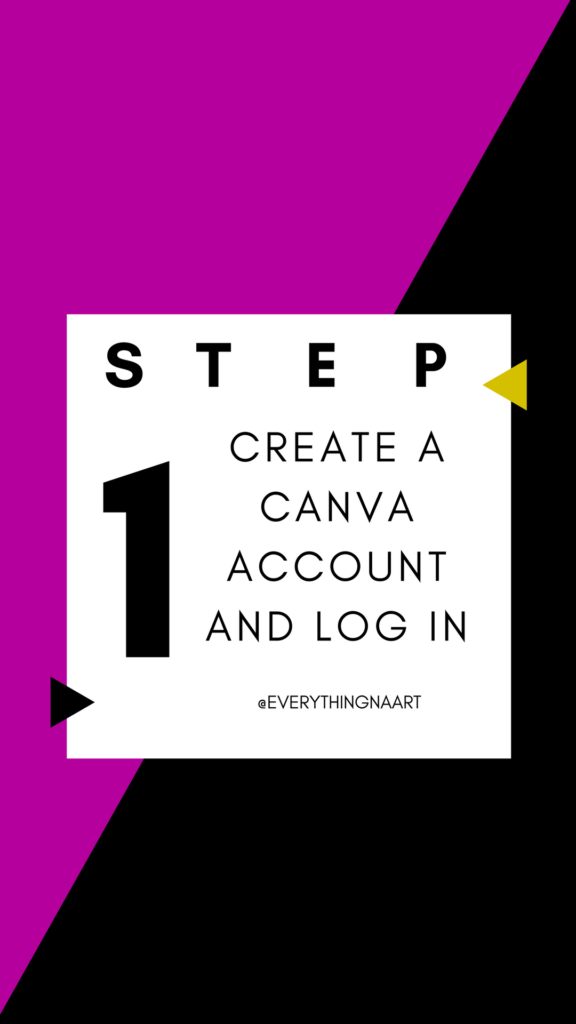
you can do this by phone or computer but phone is super convenient obviously.
I’ve had Canva downloaded onto my phone forever (2015) but I never used it until now.
You can download the app on your phone (much easier to work on the go or at work) or you can also use the web based version on your computer or laptop. FOR THIS TUTORIAL I used my imac/desktop computer.
once you download (as an app on your phone) or visit the website which is www.canva.com all you need to do is signup/login.
step #2 – Find Template
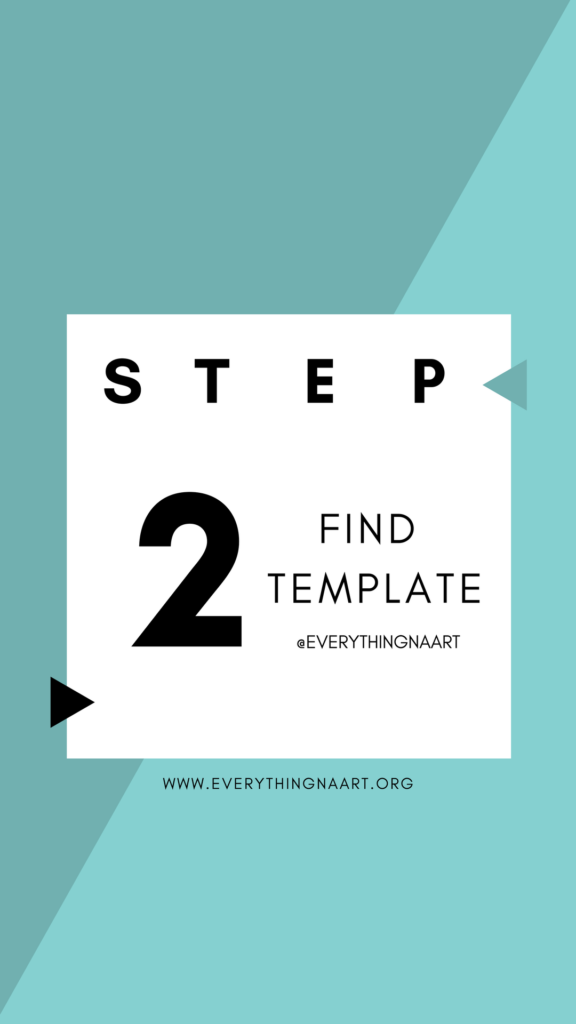
On the left hand side, click on find templates.
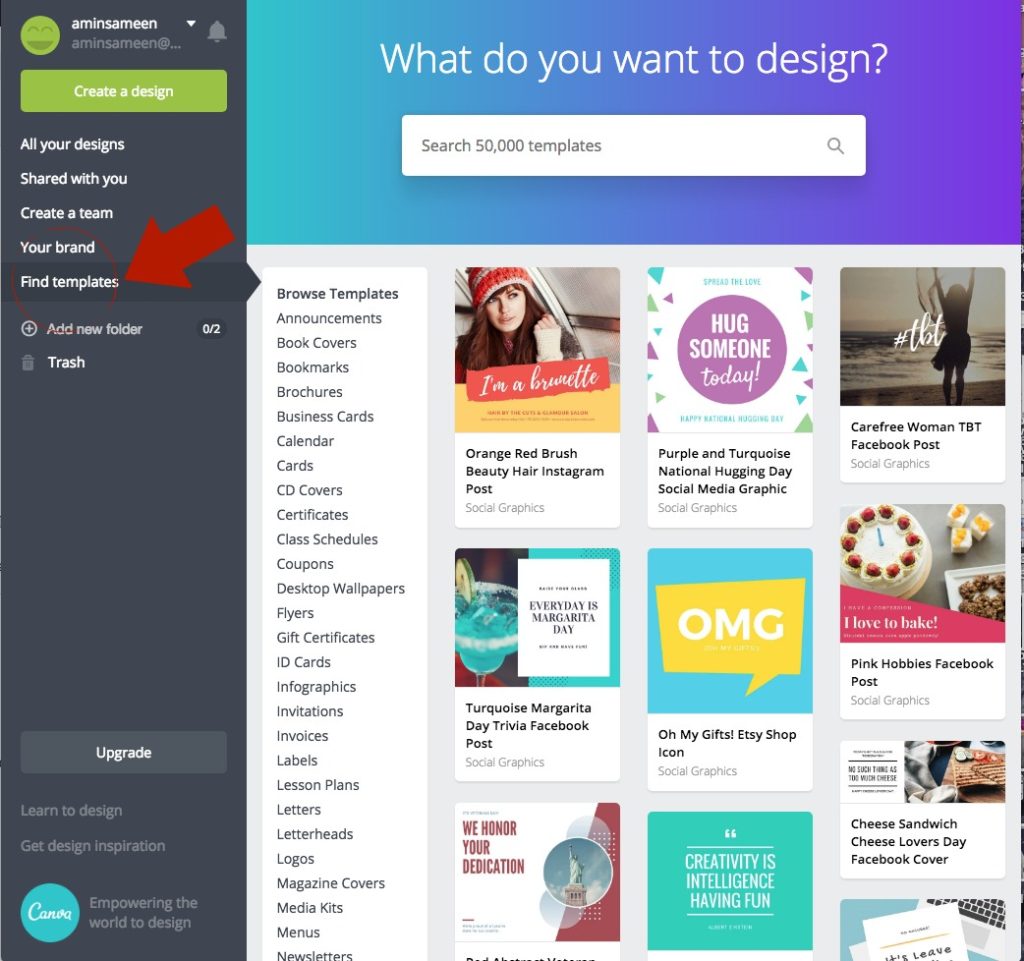
Then you’ll want to type “Instagram Story” or “Your Story”. These are different from the normal “Instagram” templates as they are longer than the normal square-shaped Instagram posts. Once you type “your story” in the search box, you’ll get a ton of Instagram Story templates you can use.
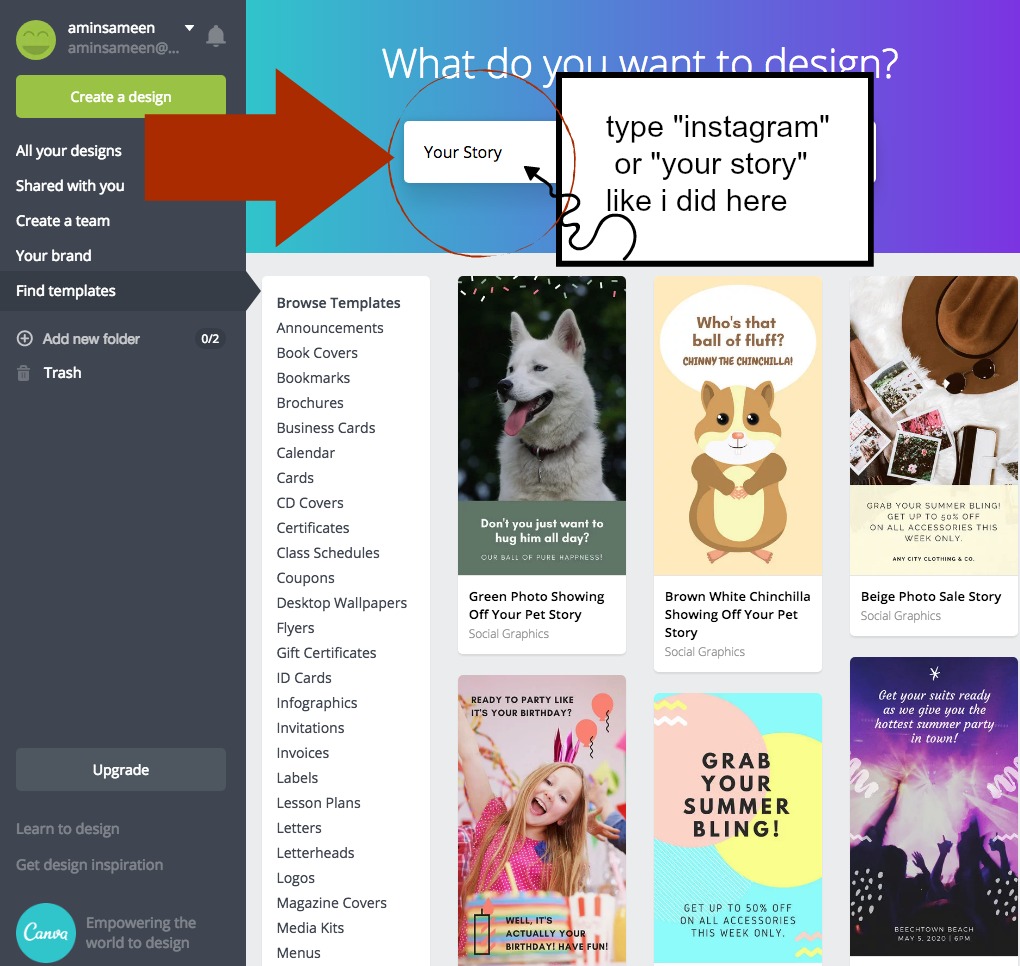
These are good to use for regular Instagram stories by the way.
but to make these highlight icons, I’m just using a template to make sure I get the sizing (insta story size) correct.
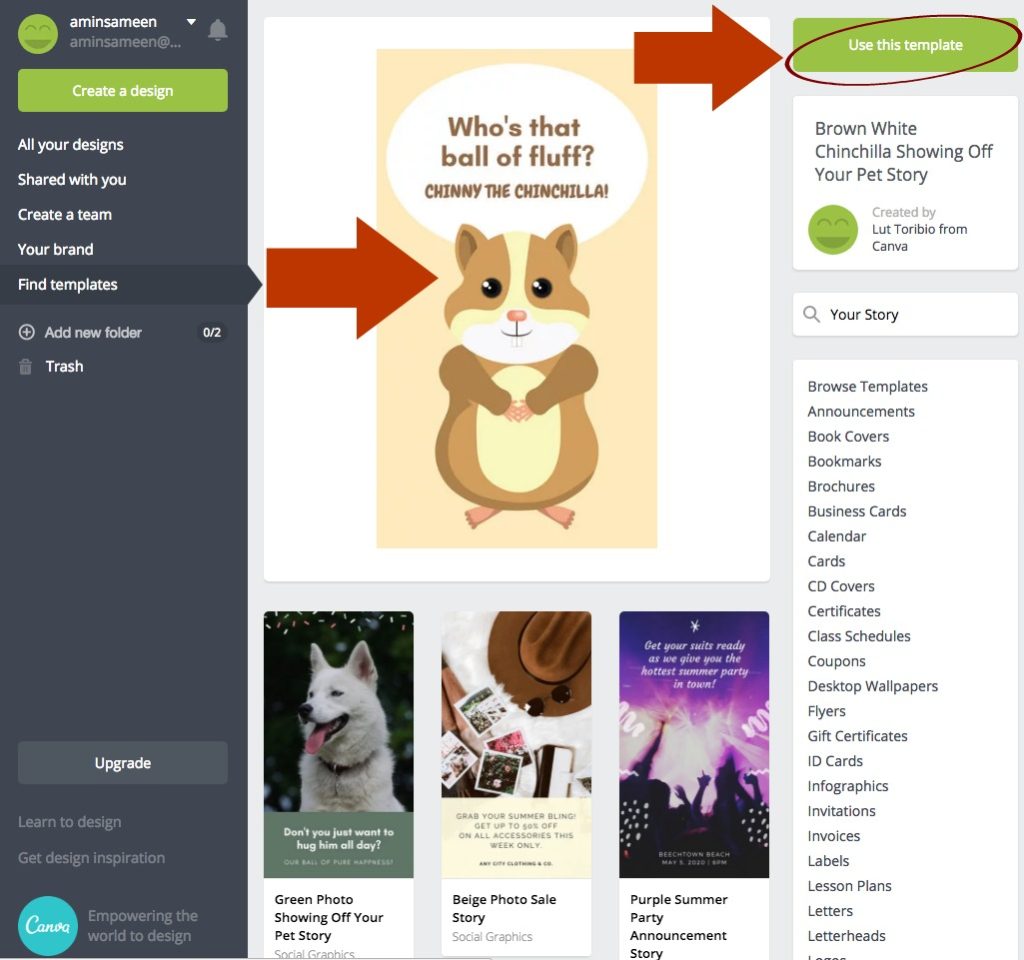
Choose any of these templates, really doesn’t matter which one and click on it. After you’ve selected the template, hit that green button on the top right that says “Use This Template.”
step #3 – Clear the template.
Select each of the elements from the template and delete them. Delete the cupcake background. Delete the text. Even delete this background with the sky and the grass.
Now you’ll be left with a clean template to work with like this:
![]()
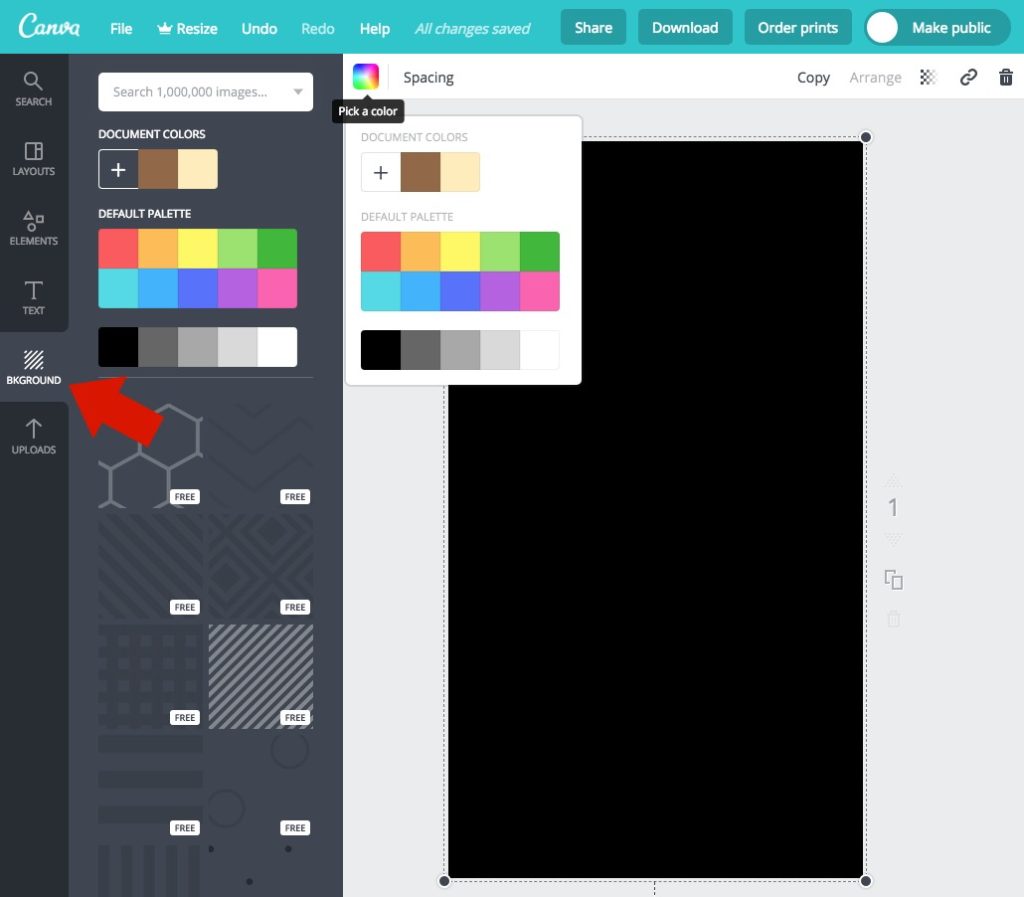
step #4 – choose your background color
On the lefthand side, click on “Background” and choose what you want your background to look like. You can pick a solid color or use one of the textured ones in the lower section.
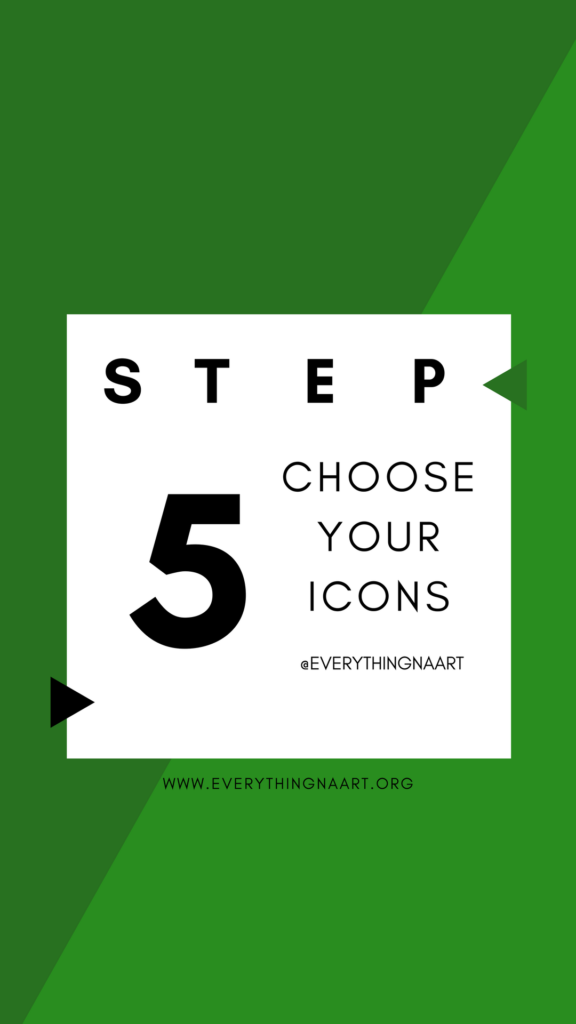
step #5 – choose your icons
Now the fun part! Again, on the lefthand side, click on “Elements.”
![]()
Then start searching for the kind of icons you’d like to use. This is where you get to be creative. Think about the sorts of icons you’d use to represent the different topics you want to cover in your stories. Post a lot about food? so look for a spoon and/or fork icon. Type the word “food or fork” in the search bar and you’ll see what your options are. I like to look at the “cartoon looking” ones that are usually simple because photos aren’t really good to use for icons.
*SIDE NOTE*: A lot of these icons are free, but some icons you’ll need to either pay for (usually $1) or you’ll have access to if you upgrade to Canva Pro. I haven’t yet run into one that i liked that wasn’t free.
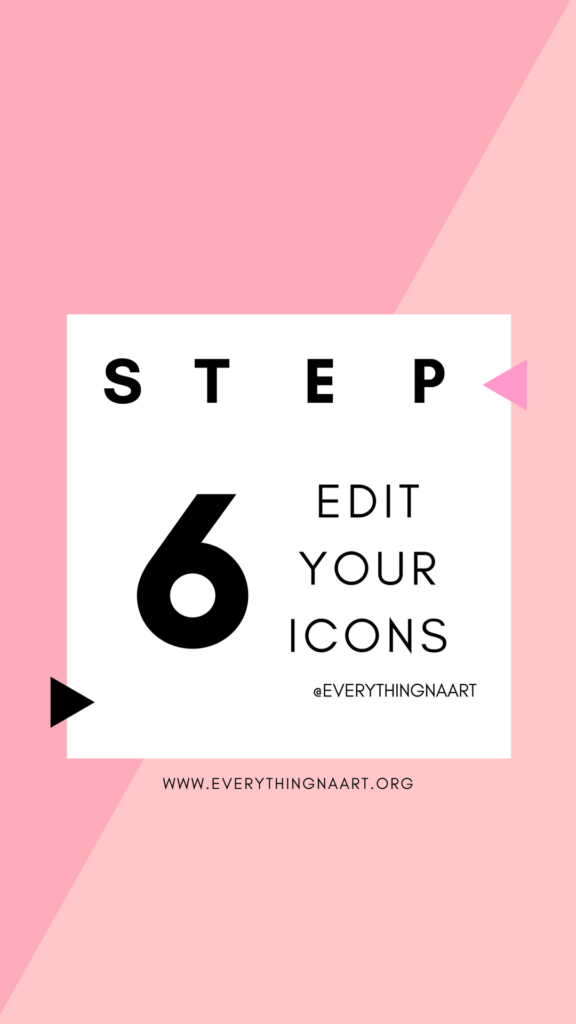
step #6 – edit your icons
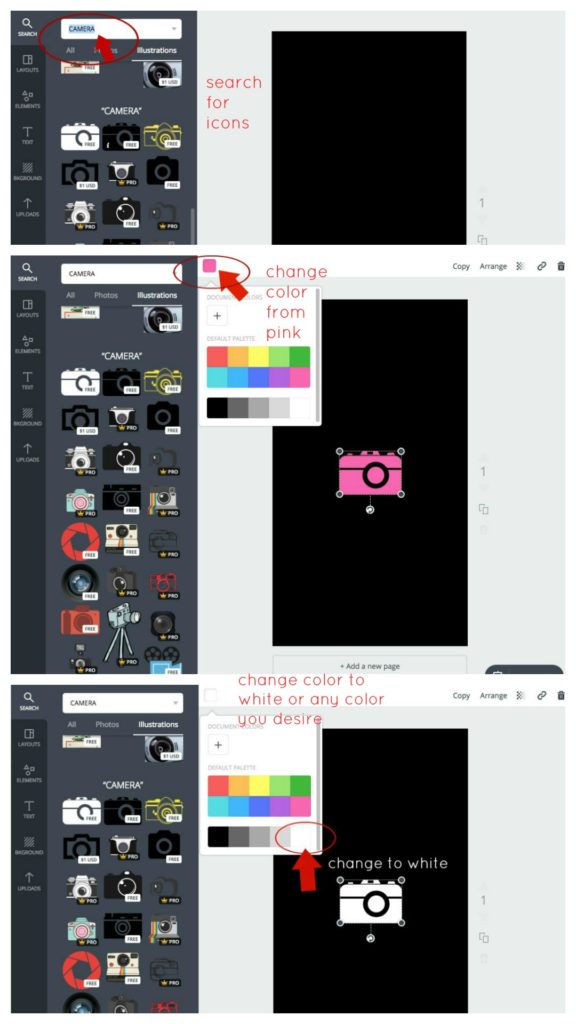
SEARCH for “Camera” So let’s say I picked the first camera icon. I clicked on it and it gave me this pink color camera. NOT the color I want. You can change the color of your icon by clicking on the little square on the top left where it says “Pick A Color.” I changed this one to white which looks like the clean theme i’m going for.
You can then resize your icon. I chose to make this one a little smaller, but that’s the size I used for my icons, more or less (make sure it’s centered on the background).
WOOHOO! You officially have one icon completed!
step #7 – Make/choose your icons
Now that you’ve made one, you can make as many as you please! Click those two rectangles on the right that say “Copy This Page” and start over!
step #8 – download the files
Yay! Once you have all your icons ready, click “DOWNLOAD” at the top and and save them. I prefer saving them in JPEG format. Select which pages you want to download and hit that green button.
And that’s it! That’s how you make them! Once you’ve downloaded them, send them to your e-mail or save them to your phone if you have the mobile app too (which i highly recommend)
Once they’re on your phone just upload them to your Instagram Stories and save them as the covers to your Instagram Highlights!
Now you are that much closer to a more “branded feel” to your page.
if you’d like to connect on Insta, follow me and let me know that you read this post!
just remember #EverythingNaArt
go and be creative!

Mayen
February 17, 2019 at 9:02 pmLearning this again was needed ?
Toluleye
February 16, 2019 at 12:32 amThank youuuuu! This is so helpful ♡♡♡♡♡♡♡♡
Maureen
January 11, 2019 at 9:01 amYou are one of a kind ??
Ada
January 8, 2019 at 8:56 amThanks. Just tried all the steps.
Ada
December 19, 2018 at 2:30 pmVery very helpful. Thank you
TrueNorth
October 21, 2018 at 12:29 amSo helpful! Never would have thought to use Canva for this thanks Amin.
Zara Johnson
September 10, 2018 at 11:04 pmSoo cool ..I’m gon try this
Taiwo
August 31, 2018 at 8:15 amAnytime I get to the “find template” aspect I find it difficult,can’t find anything like “find template”here. is it because I’m trying to do it with my phone or what? ? I really want to know how to do it. This is my third attempt ? every other tutorial,I get them right?. I don’t know why this one is a bit strenuous for me..
Ebere
August 30, 2018 at 3:14 pmThank you very much for this, Amin. This is priceless information for me and came at the right time.
My next task for my page was actually to organize the items in the ‘highlights’ section as this makes it easier for people to find what’s available in their sizes without having to scroll through the whole page.
Thank you! Thank you!! Thank you!!!
Sending big virtual ‘Thank you’ hugs to you right now!
O.labi
June 23, 2018 at 4:56 pmThank you ?.
After several attempts, I got it right today ?
TheOsasere
June 13, 2018 at 8:55 amThanks a lot. As always I learnt a lot. ?
Viola
May 31, 2018 at 3:40 pmWow! I’ll definitely give this a try. Thank you!
Moses akinde
May 29, 2018 at 4:51 amDamn…. Thanks. Good to know cos I’ve been wondering I swear.
Nsy
May 28, 2018 at 8:42 pmJust stopping by to give kudos… Keep teaching and inspiring!!! ?
Lily of Nigeria
April 29, 2018 at 3:57 amI used canva for work about two years ago and that was that. I would have never guessed it can be used for instastories. Thank you for the tip and tutorial, you’re awesome.
Whenever you can, I’d love to have you over at my blog http://www.lilyofnigeria.com
Toluwani
March 9, 2018 at 4:21 pmHey! Your blog is so amazing. Thank you so much for this tips, they were incredibly useful. Keep up the amazing work
everythingnaart
March 9, 2018 at 8:20 pmthanks! be sure to subscribe! I am so glad you found it helpful!
Oluwatobi Balogun
March 1, 2018 at 8:19 pmHaha I thought I was a canva evangelist, this tutorial is super insightful and very detailed. Thank you sissy ❤
everythingnaart
March 5, 2018 at 8:02 amHahaha at Canva evangelist! ??
Chidinma Amogu
March 1, 2018 at 6:06 pmYour tutorials are always so detailed and easy to follow. I’ll need to bookmark this one. Thanks Amin!
http://www.middleclassnigeriangirl.wordpress.com
everythingnaart
March 5, 2018 at 8:03 amThanks so much! I wouldn’t even try and make a tutorial that wasn’t useful! Thanks for reading!
TheYellow ofLagos
March 1, 2018 at 12:33 pmThis is so insightful! You helped me a lot and showed me how to better position my brand. Thank you ?
everythingnaart
March 1, 2018 at 6:05 pmLove you and thank you Yellow soldier!
Enoabasi
March 1, 2018 at 11:19 amThis is very useful information. Thanks for sharing mum!
everythingnaart
March 1, 2018 at 6:06 pmthanks so much! happy you enjoyed in Daughter 🙂
Lola
March 1, 2018 at 9:47 amThis is very timely as I just discovered Canva recently as well, very helpful tips!
Well done lady and thank you for all you do! <3
everythingnaart
March 1, 2018 at 6:07 pmThank you! glad you found it helpful! thanks for reading!
Yabbi
March 1, 2018 at 8:10 amLOVE!!!!
everythingnaart
March 1, 2018 at 6:16 pmthanks Yabooooo
MoonWalker
March 1, 2018 at 2:08 amYay!!! It’s launched! So glad and love our educative and fun your page looks!! Go Amin!
everythingnaart
March 1, 2018 at 6:17 pmthank you so much!
Dolapo
February 28, 2018 at 12:52 pmHi, i love your website … it’s beyond educational and informative. Thank you, for all the ideas you have shared. God bless you!!.
everythingnaart
March 1, 2018 at 6:17 pmThanks D!